Last updated November 17, 2026



Free written scope consultation - allowances, timeline, and change-order rules on paper before a single trade is scheduled
Driveway & Pavers Troubleshooting in Kendale Lakes: Common Problems and How to Fix Them
A single sunken cluster of pavers after a heavy rain isn’t really a paver problem. It’s a drainage problem wearing a paver costume, and replacing those pavers without fixing the drain will cost you twice. We see this constantly in Kendale Lakes, where afternoon storms drop serious water in a short window and flat lots push it wherever it can go. The pavers just take the blame. This guide teaches you to read the failure pattern before you call anyone: what the symptom is telling you, which three root causes sit behind almost every problem, and which fixes are a weekend reset versus which need base excavation. By the end you’ll know what to ask a contractor, and why.
Quick Answer
Most paver problems in Kendale Lakes trace to three root causes: drainage failures, base settlement, and joint sand erosion from tropical rain. Sunken spots usually mean the compacted base underneath has moved, washed out, or was never thick enough to begin with. Loose, shifting pavers and weed growth in the joints usually mean polymeric sand has washed out and needs to be replaced on a schedule, not once a decade. Lifting or rocking pavers over a utility trench often mean a void opened up below. Diagnose the cause before you reset a single unit, or the same failure returns within two rainy seasons.
Styles & brands we work with
- Kitchen remodeling
- Bathroom remodeling
- Home additions & ADU
- Roofing
- Windows & doors
- Driveway & pavers
- Fence
Table of Contents
- Symptom 1: Sunken, Sagging, or Rocking Pavers
- Symptom 2: Joint Sand Washing Out After Storms
- Symptom 3: Pooling Water and Poor Runoff
- Symptom 4: White Haze, Efflorescence, and Staining
- Symptom 5: Weeds, Ant Hills, and Joint Gaps
- DIY Reset vs. Professional Repair: Where the Line Sits
- Choosing Replacement Pavers That Match
- A Preventive Maintenance Calendar for South Florida
Symptom 1: Sunken, Sagging, or Rocking Pavers
Answer first: a sunken paver is almost never the paver’s fault. The unit itself is dense concrete or clay, and it doesn’t compress. What compresses is the layer under it. When you step on a paver and it rocks or drops, the base has failed in that spot, and the fix depends entirely on why it failed. There are three usual suspects in Kendale Lakes, and they read differently underfoot.
Base failure from inadequate compaction or thickness. The most common cause. A paver driveway needs a properly graded, compacted aggregate base, and in South Florida’s sandy soil that base has to be thicker than what a lot of quick-install crews lay down. When the base is too thin, saturated soil beneath it pumps up into the aggregate during heavy rain, and the surface slowly settles. You usually see broad, shallow depressions rather than one sharp hole, often along the wheel paths where cars sit.
Root intrusion. A nearby oak, palm, or ficus sends roots under the driveway looking for water. The roots lift the base and pavers as they grow, and you get localized humps and ridges rather than depressions. Look for a tree within a reasonable radius of the raised area. You’ll often see cracking in the joint lines radiating out from the lifted spot.
Utility line voids. Water and sewer lines, irrigation mains, and the trench backfill over them settle differently than the surrounding soil. A failed or poorly compacted trench creates a soft void, and the pavers above it drop as a group in a linear pattern that follows the pipe. This one matters because it can hide a slow leak that’s actively washing soil away. If a sunken strip runs in a straight line and won’t stop settling after a reset, something is happening below, and a contractor needs to look before anyone digs.
Reading the shape is the diagnostic step. Broad depressions point to base. Ridges near a tree point to roots. A straight-line drop points to a trench. That distinction changes the repair from a simple reset to a base rebuild, and it’s the difference between a fix that lasts and a patch that fails by the next storm season. Our driveway & pavers work starts with this diagnosis, not with a shovel.
Symptom 2: Joint Sand Washing Out After Storms
Answer first: polymeric sand washes out faster in South Florida than in most of the country because the rain here is intense and seasonal, and the sand is only as good as the joints it sits in. High-volume downpours on a slight grade scour the joints, and once sand is gone, the pavers lose the interlock that holds the whole surface together.
Polymeric sand works by locking pavers together and sealing the joint against water and weeds. In a dry climate that joint can hold for years. In Kendale Lakes, a driveway on even a modest slope loses sand at the bottom edge and along the low side first, because that’s where stormwater exits. The pattern is predictable: a wash line at the low edge, then joints that open up progressively toward the crown of the driveway.
Here’s the part most homeowners get wrong. Re-sanding isn’t a one-and-done job you do when you install pavers. It’s a maintenance item, and in this climate it usually needs checking every year or two depending on slope, drainage, and how much of the surface gets direct rain runoff. Signs it’s time:
- Water and weeds moving between joints after a storm
- Visible gaps or visible sand loss at the driveway’s low edge
- Pavers rattling or shifting slightly when you walk across them
- Ant hills or weed growth emerging from the joints
- Surface sediment left on the pavers after rain
The correct re-sanding process is not just sweeping sand into the joints. The joints have to be clean and dry and wide enough to accept sand to the right depth, the sand goes in at the correct moisture level, and the surface gets compacted and cured. Done wrong, polymeric sand cures cloudy or washes out on the first big storm. Done right, it seals the surface for the season.
- Clean the joints out to a uniform depth and confirm they’re dry.
- Apply polymeric sand and work it fully into the joints.
- Compact the surface to settle the sand and seat the pavers.
- Activate the polymer with the correct amount of water, without flooding.
- Cure undisturbed, and keep foot traffic off until it sets.
Skip step three and four and the sand fails early. If you’ve had a wash-out more than once on the same driveway, it’s a signal the joints aren’t holding because the base is moving underneath. In that case re-sanding alone won’t fix the cause.
Symptom 3: Pooling Water and Poor Runoff
Answer first: standing water on a paver driveway is a grade or drainage problem, not a paver material problem. The pavers themselves can be permeable to a degree, but if water pools, it means it has no path off the surface fast enough. Three things cause that: grade, base permeability, and a clogged or missing edge restraint.
Grade problems. A driveway needs a consistent slope away from the house and toward a designed outlet (a swale, a drain, a curb). In Kendale Lakes, many lots are flat and stormwater has to be directed deliberately. When the slope is barely there, or the pavers were laid with a dip in the middle, water sits there. Look for a depression that holds a puddle and won’t drain within an hour after rain.
Permeable base problems. Even on a properly sloped driveway, the water has to drain through or off. If the base layer under the pavers is too dense or wasn’t graded, or if years of fine sediment have filled the void spaces in the aggregate, water can’t pass through and backs up to the surface. This is often invisible until heavy, extended rain exposes it.
Clogged or broken edge restraint. Edge restraint is the concrete or plastic curb that holds the paver field in place and controls where water exits at the sides. If it’s settled, cracked, or been overgrown by lawn and sediment, water stops leaving the driveway at the intended spot and pools instead. A poorly drained edge is a common cause of a wet strip down one side of a driveway. Clearing it and re-leveling the restraint can solve what looks like a big drainage problem.
Reading the pattern tells you where to start:
- Pooling in the center: grade or base permeability.
- Pooling along one edge: edge restraint settlement or a blocked outlet.
- Pooling at the bottom of a slope: insufficient outlet capacity.
- Pooling at the garage apron: a “reverse grade” that slopes toward the house, which needs professional correction.
Any pooling that touches the house foundation or garage is not a cosmetic problem. Water that’s directed toward the structure can find its way into walls and slab edges, which is why a reverse-grade driveway is one of the few paver issues worth addressing right away. We also recommend looking at the fence installation side of the property if you’re evaluating how surface water crosses lot lines, since shared drainage often runs along a fence line.
Symptom 4: White Haze, Efflorescence, and Staining
Answer first: a white, powdery haze on pavers is usually efflorescence, and it behaves differently in a humid climate than in a dry one. Efflorescence is naturally occurring mineral salt that comes to the surface as moisture moves through the paver and evaporates. In South Florida’s humidity, moisture moves through concrete slowly and continuously, so less salt comes up than in dry climates that see rapid evaporation, but it can persist longer and appear in recurring cloudy bands.
Here’s what makes the local pattern distinct. Dry-climate efflorescence tends to bloom strongly, then dry to the surface as a hard white film. Humid-climate efflorescence is subtler: cloudier, more diffuse, and more likely to reappear after the next wet season if the underlying moisture path isn’t addressed. If white bloom keeps coming back on the same section of driveway season after season, the cause is water migrating up through the base and pavers, not something sitting on the surface.
What actually removes it:
- Dry brushing first. Remove loose salt before anything wet touches the paver.
- A proper paver cleaner meant for efflorescence. A dedicated acidic paver cleaner, diluted according to the label, then thoroughly rinsed and cured, removes surface bloom. Never mix cleaners, and never use harsh acids on clay pavers.
- Addressing the source. If moisture is coming up through the base, a chemical wash is a temporary fix. The permanent answer is fixing the drainage and base moisture path.
Don’t confuse efflorescence with other stains. Oil and rust stain the surface and respond to different cleaners. Organic staining (leaves, algae) is dark green-black and responds to light cleaning and better drainage. If you can’t tell what you’re looking at, a professional can identify it before you apply something that makes it worse. The right product for one stain can permanently damage a paver when used for another.
Symptom 5: Weeds, Ant Hills, and Joint Gaps
Answer first: weeds and ant hills in paver joints are a sign the joint sand has left the building. When joints are properly filled and sealed, there’s no room for a weed seed to establish and no loose sand for ants to haul away. When they’re open, both move in fast, and in Kendale Lakes the growing season is long enough that a thin joint becomes a weed strip within a season.
Ants are worth mentioning specifically because they’re both a symptom and a cause. An ant colony under a paver driveway excavates soil and carries it up through the joints. Over time that undermines the base and creates small voids, which is the same settlement process described above but operating from below. Killing the ants without re-sanding the joints just means the colony rebuilds somewhere else. The fix is filling and sealing the joints so the colony has no access, then addressing the mound with treatment if needed.
Weeds follow the same logic. A weed seed needs a gap, moisture, and light. Close the gap and the weeds stop. Pulling individual weeds is a losing game on a driveway with widespread open joints. The honest answer: re-sand, then maintain.
After any re-sanding, keep these habits:
- Check joint fill after the rainy season and top off any low spots.
- Sweep debris off the surface so it doesn’t migrate into joints.
- Keep the low edge and outlet clear of sediment and lawn growth.
- Address any persistent ant activity rather than treating it once.
- Watch the joints near the driveway apron and low side, where sand washes out first.
DIY Reset vs. Professional Repair: Where the Line Sits
Answer first: a single lifted paver or a small area of washed-out joints is a legitimate DIY reset. Anything that involves lifting pavers over a moving base, correcting grade, or digging into the base layer is not, because those jobs require compaction equipment and correct spec that most homeowners don’t have on hand. Knowing where that line sits saves you from doing a job twice.
Reasonable DIY scope:
- Lifting a handful of individual pavers that have tilted or come loose, cleaning the base, and reseating them on the existing compacted layer.
- Re-sanding joints with fresh polymeric sand using the correct procedure.
- Sweeping, cleaning, and clearing debris from the low edge.
- Light spot cleaning for organic staining or a small weed problem.
Professional scope:
- Any area where the base has settled and the fix requires removing a block of pavers, re-grading, adding aggregate, and compacting to spec. Under-compaction is the number one reason resets fail, and getting it right needs a plate compactor at minimum.
- Correcting a driveway grade that drains toward the house.
- Diagnosing a utility void, which requires understanding what’s under the driveway and possibly a look at the line itself before anyone digs.
- Repairing or replacing a failed edge restraint along a long run.
- Reworking more than a modest area where the interference with the base is widespread.
The general rule: if you lift one paver and the aggregate underneath is loose, wet, or shifting, the job is professional. If you lift it and the base is firm and dry, a careful reset is fine. A sunken area covering several pavers in a broad depression almost always means a base problem, so treat it as professional work. If the driveway is part of a larger exterior scope – say you’re replacing part of it while rebuilding a property line – the same contractor can manage it alongside the rest, something to keep in mind when you plan Kendale Lakes Construction work across the whole property.
Choosing Replacement Pavers That Match
Answer first: when a repair needs replacement pavers, whether the repair blends in depends on matching the exact brand, color, and face-style of the original, and dye lots vary over time. If your driveway is a color-blended paver from one manufacturer, a generic match from a different brand will almost always be visibly off, especially in sunlight.
This is where working with a contractor who has real brand relationships matters. We work with pavers from Belgard, Unilock, Tremron, and Techo-Bloc, which means we can source a match or, if the original line is discontinued, advise honestly on a layout that works with what’s available. Trying to match from a home-improvement pallet with no brand identification is a guess. We’ve gotten calls after that guess – a patch that’s clearly a different shade and never settles in.
Practical notes for a repair or partial replacement:
- Identify the original pavers if you can. Brand, color, and style are often on a leftover unit, a delivery slip, or the installer’s paperwork.
- Expect dye lot variation. Even the same brand can shift subtly between production runs, so a small mismatch is normal.
- Plan the layout. A repair that places a few new units in a dispersed pattern hides lot variation better than a solid block of new pavers.
- Consider permeability and color. For a full driveway replacement, pale tones reflect heat better in a subtropical climate and reduce surface temperature, which matters more here than many realize.
If the repair is turning into a full resurfacing, that’s a good moment to plan the whole exterior scope. Homeowners weighing an ADU or addition on the same property should coordinate it with driveway work, since site access and drainage change. Our team can walk both through under one plan: home additions & ADU projects with paver work often share the same grading decisions. And for finish details on the house, we can tie in a hardscape material palette to cabinet and fixture choices from brands like Caesarstone and Kohler so the exterior and interior read as one property instead of a collection of projects.
A Preventive Maintenance Calendar for South Florida
Answer first: pavers installed and maintained well hold up for years, but this climate doesn’t let maintenance slide. The wet season does the damage, and the dry season is when you repair it. Here’s a calendar that matches how the seasons behave in Kendale Lakes rather than a generic guide.
Before the wet season (spring):
- Inspect joint sand across the whole driveway, especially at the low edge and around any tree roots.
- Re-sand and re-seal any joints that are low or starting to open.
- Clear the edge restraint and outlet of sediment and winter debris.
- Look for any new efflorescence and address it before the heavy rain begins.
After the wet season (fall):
- Check for new settlement and any wash-out at the low points.
- Inspect for weeds and ant activity that the wet season encouraged.
- Touch up joint sand after storms.
- Address any standing water that appeared over the season, because that’s the warning sign of a coming settlement problem.
Year-round habits:
- Sweep debris off the surface rather than letting it wash into joints.
- Keep trees on the property pruned so roots don’t reach under the driveway.
- Watch for that trend of repeated sunken spots after storms, which is your cue to get a diagnosis before it spreads.
- Don’t pressure-wash aggressively enough to blast sand out of the joints; a low-pressure wash and soft broom is safer.
- Keep a few spare pavers from the original lot stored dry for future repairs, because matching later is easier with the original dye lot.
Common Mistakes to Avoid
- Fixing the paver instead of the cause. Lifting sunken pavers and resetting them without checking the base means the same spot fails again. The base is the story, not the block.
- Using generic sand instead of polymeric on a proper schedule. Regular sand washes out on the first storm. Polymeric sand installed correctly and maintained is what holds joints in this climate, and it needs checking every year or two, not once every ten.
- Ignoring the low edge. The bottom of the driveway takes the most water. It leaks first, and fixing it early is cheaper than waiting for the whole joint field to open up.
- Pressure-washing the joints. A strong blast removes the sand you paid for. Low pressure and a soft broom keep the surface clean and the joints intact.
- Patching with mismatched pavers. A generic replacement from a different brand won’t match the dye lot or face-style, and a mismatched patch is visible every time the sun hits it. Match the original brand when you can.
- Treating a utility-line void as a paver settlement. A straight-line drop along a trench that keeps settling is a red flag. Something is happening below the surface, and it’s worth a professional look.
- Cleaning efflorescence with the wrong product. Harsh chemicals can harm certain paver finishes. Identify the stain before you treat it.
See the difference
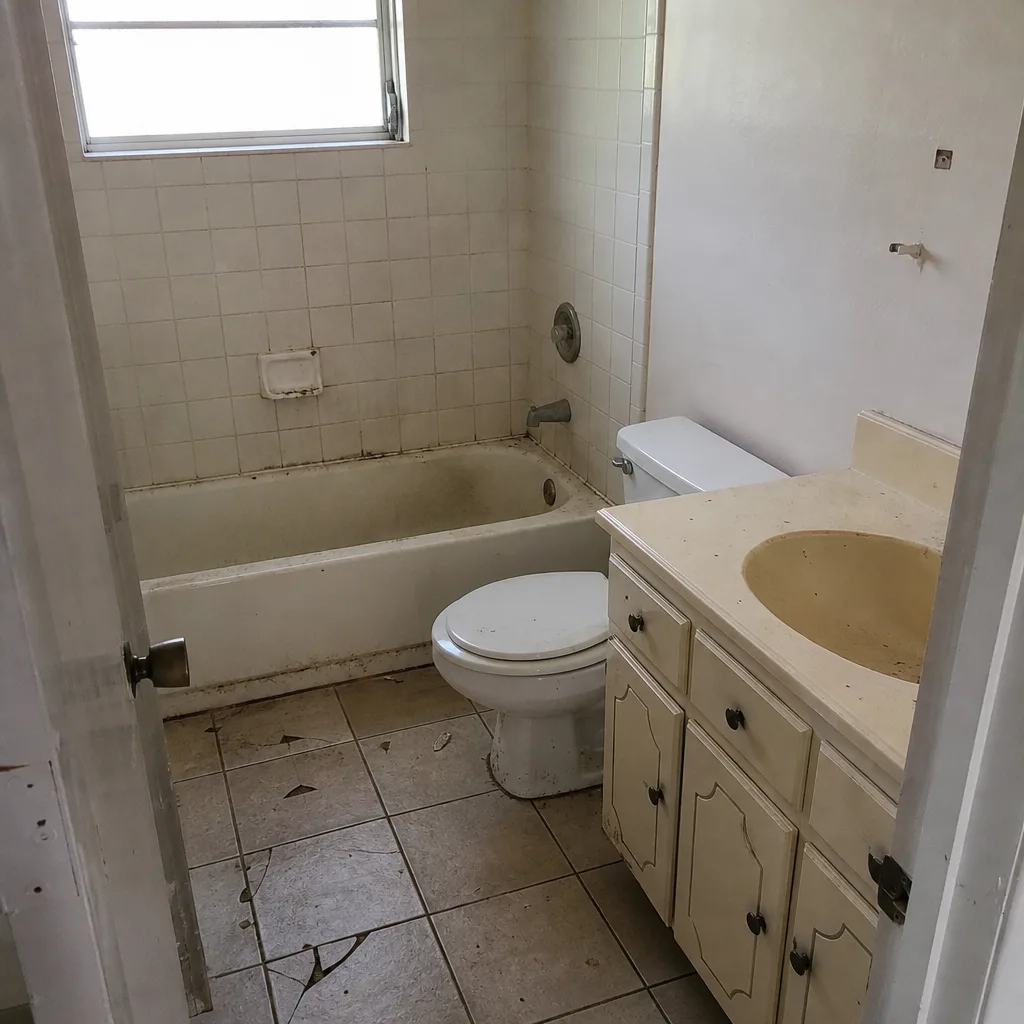 Before
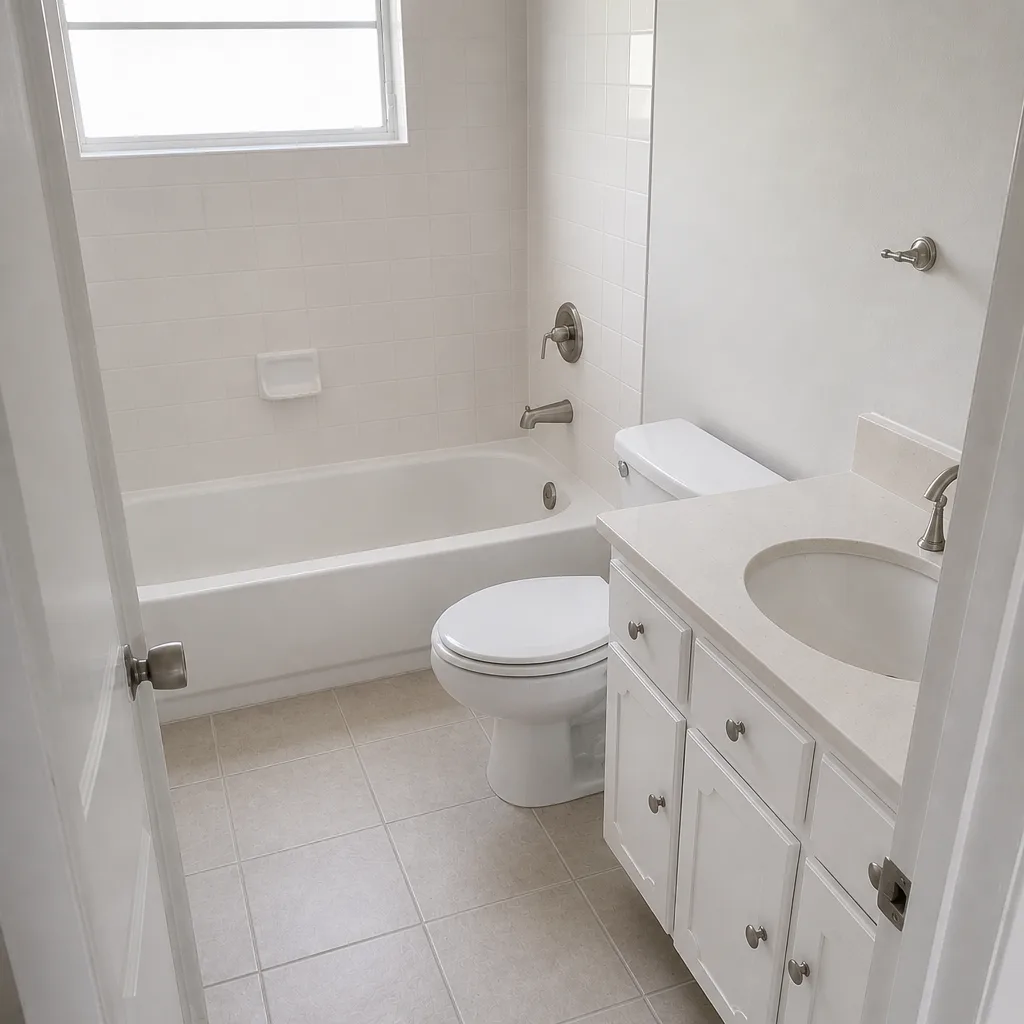 After
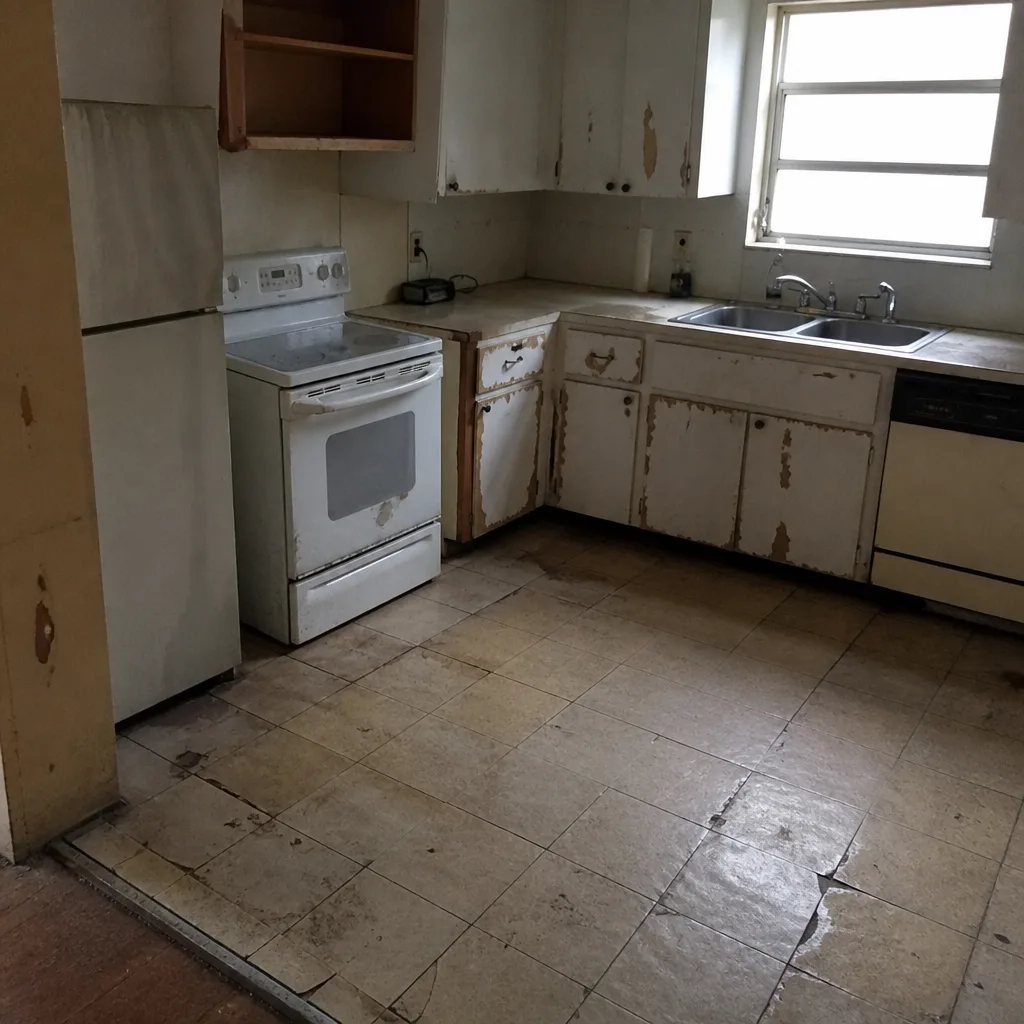 Before
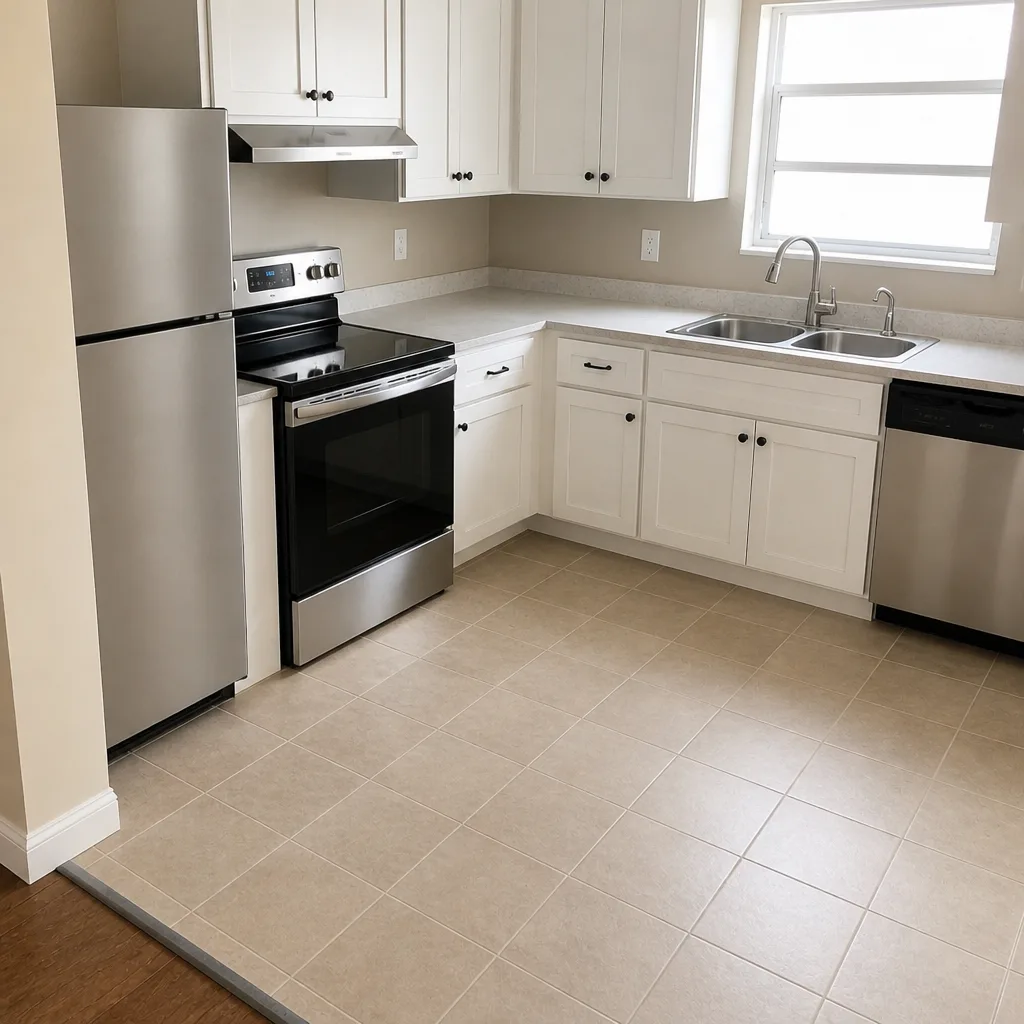 After
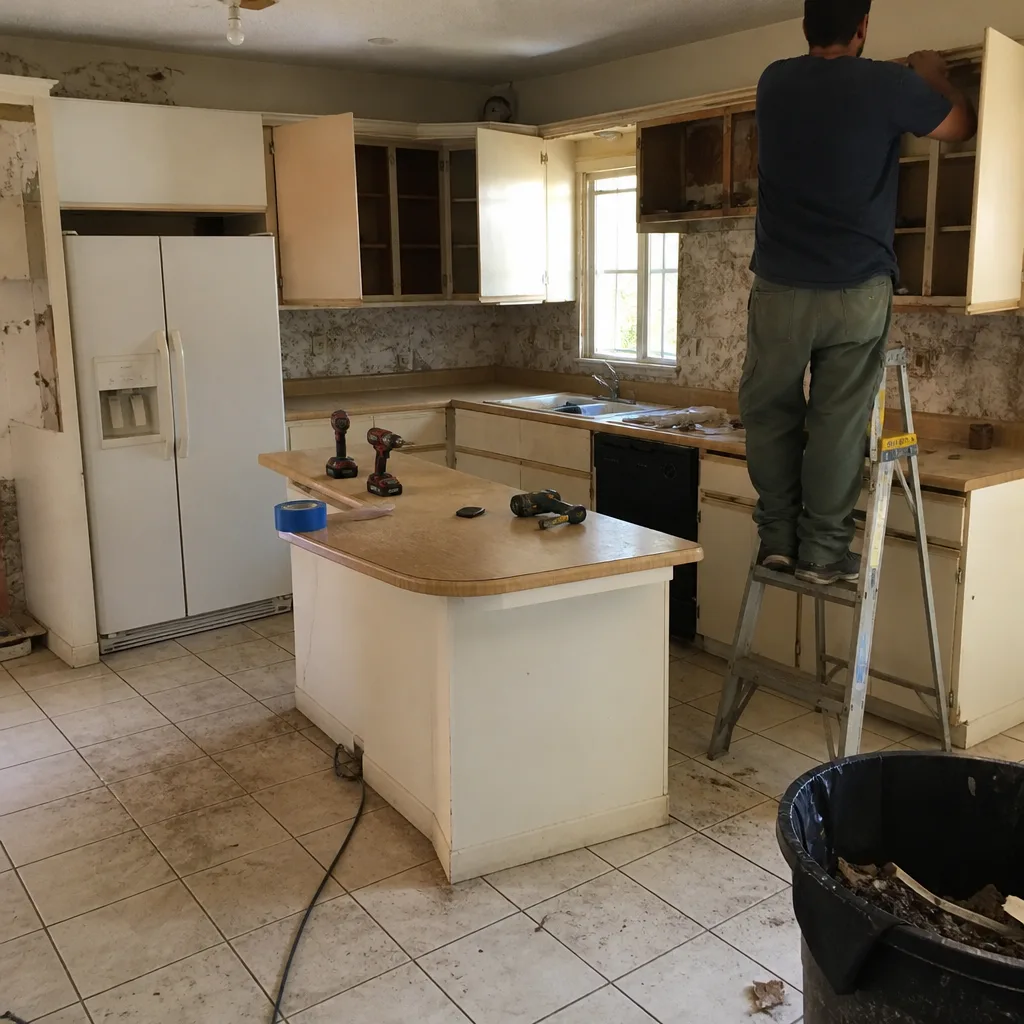 Before
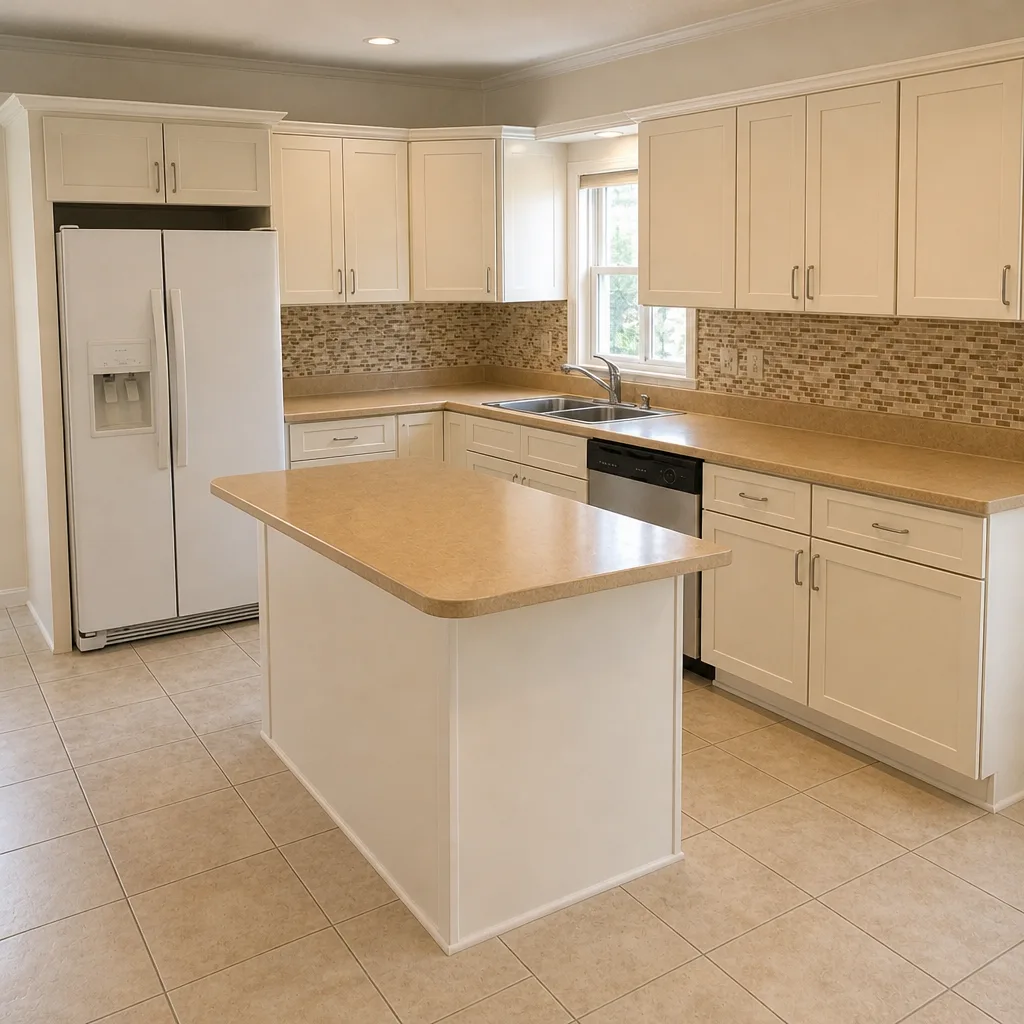 After
When to Call a Professional
Call a professional when the symptom involves the base, the grade, or anything under the surface. Specifically: a broad depression across several pavers rather than one loose unit, a strip that keeps dropping in a straight line, pooling that touches the house or garage, a failed edge restraint along a long run, or joints that keep washing out even after a correct re-sanding. Those aren’t cosmetic issues. They point to something under the driveway that needs to be fixed properly, with compaction and correct spec.
Kendale Lakes Construction offers free estimates in Kendale Lakes for driveway and paver work, and one point of contact from the diagnosis through the finished surface. Call (866) 531-4751. We answer 24/7. Fast dispatch from 7am to 7pm, Sunday through Friday.
Frequently Asked Questions
It depends entirely on the scope, because a joint re-sand and a base rebuild are very different jobs, and the written estimate sets the final price. Anything involving base excavation and re-compaction runs higher than a spot reset or a full re-sand, and a repair covering a large area gets quoted as a larger job. We give a free, written line-item estimate so you see the scope and the price before work starts. Call (866) 531-4751 for an exact quote – estimates are free.
No. We work from the written estimate and a clear scope, so the price doesn’t drift once the job begins. If a repair opens up something new (a damaged utility line, a deeper void than expected), we stop and talk it through with you before doing anything beyond the agreed scope. You’re never surprised by the invoice. Call (866) 531-4751 to set up your free estimate.
Timelines vary by project scope and the work involved, so we set the schedule with you as part of the estimate rather than promise a number up front. A re-sand on a typical driveway and a base rebuild covering a large area are very different schedules. We’ll give you a realistic plan in writing. Call (866) 531-4751 and we’ll talk through your driveway.
Sand washes out because the water is concentrated somewhere it shouldn’t be and the joints are open. That’s usually a sign of a grade issue, a low edge with a blocked outlet, or joints that have lost fill over time. Re-sanding without fixing the drainage will wash out again. It’s worth having someone read the water pattern before you re-sand. Call (866) 531-4751 for a free look and estimate.
Often, yes, but matching depends on identifying the original brand, color, and face-style, and dye lots vary between production runs. We work with Belgard, Unilock, Tremron, and Techo-Bloc, which gives real matching options. Where the original line is discontinued, we’ll tell you honestly and recommend a layout that works with what’s available. Call (866) 531-4751 to schedule a free estimate.
Very much so. The wet season drives most of the failure patterns you see: sand wash-out, settlement from saturated base, efflorescence, and ant and weed activity. That’s why the fix should address water first and pavers second. Diagnose the cause before patching the symptom. Call (866) 531-4751 for a free estimate.
The Bottom Line
Almost every paver problem in Kendale Lakes comes back to one of three things: drainage, base settlement, or joint sand loss from tropical rain. Read the symptom pattern first. Broad depressions mean the base, ridges near a tree mean roots, a straight-line drop means a utility void, and open joints mean the sand has washed out. Fix the cause, not the paver. Maintain the joints on a yearly-to-two-year rhythm, protect the low edge, and match pavers by brand rather than guessing. Diagnose before you dig, and the repair lasts past the next storm season instead of folding to it.
Tell us your project and we’ll build the roadmap, from a single re-sand to a full driveway rebuild alongside any other exterior work on your property.
Call (866) 531-4751 for a free estimate. We answer 24/7. Fast dispatch from 7am to 7pm, Sunday through Friday.
Written by the team at Kendale Lakes Construction.