Last updated November 17, 2026



Free written scope consultation - allowances, timeline, and change-order rules on paper before a single trade is scheduled
Driveway & Pavers Maintenance Checklist for Kendale Lakes Homeowners
A sunken or rocking paver is almost never a paver problem. It is a base and drainage problem showing up through the surface. In Kendale Lakes, where the ground is flat and the summer rain comes in long, heavy cycles, water has nowhere to run and finds the weakest point in the sub-base first. Homeowners who chase the symptom with fresh sand and a little re-leveling tend to redo that same work within about 18 months, usually right after a rainy season. This checklist walks through what to inspect, when to inspect it, how to spot base failure before it becomes a full reinstallation, and when the honest answer is a rebuild rather than a repair.
Quick Answer
Most paver driveway maintenance in Kendale Lakes comes down to four repeating jobs: clearing and confirming drainage, treating weeds and ant activity before they loosen joint sand, re-applying polymeric sand once the wet season ends, and packing or re-setting individual pavers that rock. Surface fixes only last if the base underneath is compacted and draining. When pavers are sinking in a broad area, joints are separating in lines, or water pools for more than a day after a storm, the base has failed and a targeted reinstallation is the correct scope.
Styles & brands we work with
- Kitchen remodeling
- Bathroom remodeling
- Home additions & ADU
- Roofing
- Windows & doors
- Driveway & pavers
- Fence
Table of Contents
- Why Base Compaction and Drainage Matter More Than the Surface
- The Wet-Season and Dry-Season Inspection Calendar
- How to Spot Sub-Base Drainage Failure Early
- Polymeric Sand Timing After the Rainy Season
- Pool Equipment, Irrigation and AC Condensate Lines
- When Maintenance Crosses Into a Full Reinstallation
- Choosing Materials That Hold Up
- Common Mistakes to Avoid
Why Base Compaction and Drainage Matter More Than the Surface
Pavers sit on a compacted aggregate base, usually over a geotextile fabric, and the joints are filled with sand. The pavers are visible. The base is not. Almost every complaint about a paver driveway traces back to that hidden layer and to what water does to it over time.
Kendale Lakes sits on flat ground. There is very little natural grade to move stormwater away from a driveway, so water sits where the pavers meet the yard, the apron, or a retaining edge. During the wet season, rainfall arrives in concentrated bursts and the soil below the base can stay saturated for stretches. When the base aggregate wasn’t compacted in lifts, or the fabric under it is torn and pumping soil into the stone, the surface starts to telegraph that failure as low spots, rocking units and widening joints.
This is why regrouting and re-leveling alone won’t fix a base problem. You can set a paver perfectly and it will sink again by the end of the next rainy season if the sub-base is loose or holding water. In our experience, the fix that lasts addresses three things at once:
- Compaction: the base is placed and compacted in layers, not dumped and leveled once.
- Water direction: the surface has a positive slope away from the house and toward a drain, swale or yard edge.
- Edge restraint: a fixed edge holds the field of pavers together so individual units can’t migrate outward and open joints.
When we specify a driveway paver installation, we build for those three conditions first and treat the paver color and pattern as the finish on top. That is how a driveway serves the homeowner for years rather than seasons. If you’re still deciding between materials, our driveway & pavers page covers the base build in more detail.
The Wet-Season and Dry-Season Inspection Calendar
Generic four-season maintenance advice doesn’t map onto South Florida. Here there are really two seasons for paver upkeep: the wet summer and the drier stretch that follows. Actions taken at the wrong point in that cycle waste money. Here is the schedule we recommend to Kendale Lakes homeowners.
Before the wet season (late spring):
- Walk the whole driveway and mark every paver that rocks or sounds hollow. Hollow sound means a void under the unit.
- Confirm all surface water can flow toward its intended outlet. If water must pass three pavers before it can leave, the slope is too flat.
- Clear debris from drains, channels and swales. A single clogged drain sends water under the joints instead of away from them.
- Top up joint sand. Before the rain arrives, joints that are already low will erode faster and let loose soil and weed seed in.
During the wet season:
- After a storm, watch where water stands. Photograph any puddle that persists more than 24 hours.
- Check for joint separation along the edges, especially where the driveway meets the garage apron or a landscape bed.
- Pull weeds as they appear. Weeds left to grow widen joints mechanically and invite more seed.
After the wet season (dry stretch):
- Do a full depth check of the joint sand.
- Plan the polymeric sand re-application (covered below).
- Address any paver that moved, and any ant mounds or loose soil visible at joints.
Kendale Lakes lots vary, but this schedule holds across most of the community because the rain cycle drives it, not the address.
How to Spot Sub-Base Drainage Failure Early
The earlier you catch drainage failure, the cheaper the repair. Once a base loses its structure, it usually needs replacement over a growing area, and paver color matching gets harder with time. Here are the early signals we tell homeowners to watch for.
- Puddles that last more than a day. Quick rain puddles are normal. Standing water a day after a storm means the surface or base can’t move it.
- A rocking paver with no surface damage. If a unit rocks and looks fine, the void is in the base, not the paver.
- Long, straight joint separation. Cracks following a line across many pavers point to base movement or a running failure, not to a joint-fill issue.
- Fine soil settling at the surface of joints. This is soil pumping up through the base, which means the fabric or aggregate below has lost filter function.
- Edge movement. If the pavers along the driveway edge push outward, the edge restraint has failed and the whole field can start spreading.
- Sinkholes that reappear after you fill them. New sand that vanishes into the joints is going somewhere. It’s washing into the base.
The rule of thumb: if the same area fails twice, don’t repair it a third time. Investigate the base. A small, contained area can sometimes be re-based and re-set, while a spreading pattern calls for a wider scope. Our technicians have up to 10 years of experience reading these patterns, and they’re usually visible within a short driveway walk.
Polymeric Sand Timing After the Rainy Season
Polymeric sand is what holds pavers together laterally and keeps weeds and ants out of joints. The timing of the re-application matters as much as the product. The best window in Kendale Lakes is the drier stretch right after the wet season ends, when the joints and base can dry and the polymer can cure properly. Applying it before the rain returns means the sand has time to set. Applying it during the wet season, or on a saturated driveway, means the polymer doesn’t bond the way it should.
Why timing the wrong way causes ant and weed problems:
- Polymer that never cures properly stays soft. Ants tunnel through it, and weed roots push it out of the joint.
- Joints left open too long collect organic matter and weed seed, which germinate the moment the rain returns.
- Sand applied to a wet surface can wash out in the first storm and leave the joints as low as before, sometimes lower.
Steps we recommend for re-application:
- Choose a window with no rain forecast and a dry driveway.
- Clean out failed joint sand and any weeds or debris, using a paver-safe tool. Don’t widen joints while clearing.
- Sweep polymeric sand into the joints fully to the depth the product calls for.
- Compact the field with a plate compactor using a protective pad, which settles sand into voids.
- Sweep the surface clean and activate the polymer per the manufacturer’s instructions. We typically work with Quikrete and Sakrete products because we know exactly how each behaves in our climate.
- Keep the surface dry for the manufacturer’s stated cure period.
If you’re unsure whether your joint sand is due, a quick test helps: press your thumb into the joint in three random spots. If it dents more than a few millimeters, re-application is overdue. Our Kendale Lakes Construction team can look at joint condition during a free estimate and tell you honestly whether the timing is right.
Pool Equipment, Irrigation and AC Condensate Lines
Most paver driveways in Kendale Lakes share space with equipment that discharges water. That discharge is one of the most common hidden causes of paver failure we see. Pool pumps and filters, irrigation controllers, and AC condensate drains all deliver water to the same base that pavers sit on. If that water lands on a paver surface or at a joint, it enters the base and starts the failure process.
Here’s where the interaction matters:
- AC condensate: a steady trickle from an air handler drain can soak a small area of base year-round and hollow out a void beneath the pavers. If you see a low spot under a condensate line, redirect the line and then repair the base.
- Irrigation heads: a head that sprays onto the driveway instead of the bed saturates joints and erodes sand. Check head aim at the start of the wet season.
- Pool equipment pads: equipment pads near a paver edge concentrate water at one spot. Confirm the pad drains toward a landscaped area, not across the driveway.
- Sprinkler and pool lines under pavers: if a line runs beneath the driveway and develops a leak, the base loses support quietly. A paver area that starts to sink over a line route needs a leak check.
A two-minute walk around the equipment during the dry season catches most of these problems before they damage the base. When a paver area has already failed over a buried line, the fix may need to expose the line, repair it, and rebuild the base in that section. Coordinating that with other trades is where an accountable contractor matters. Our home additions & ADU and site work experience means we understand how buried utilities, grading and pavers fit into the same lot.
When Maintenance Crosses Into a Full Reinstallation
Not every paver problem is a maintenance problem. Some have crossed the line into scope work, and it’s better to know that before you spend on cosmetic fixes you’ll repeat. The signs of a full reinstallation scope:
- Broad, repeated sinking: the same area fails after two base or sand repairs.
- Widespread edge migration: many pavers along the edge have moved and joint widths are inconsistent.
- Visible base loss: the driveway surface bows or dips in large areas, or you can see stone or fabric through joint gaps.
- Failure over a buried utility: a leaking line under the pavers has compromised the base.
- Compaction failure over most of the field: the pavers rock across large areas, not just one or two spots.
What a proper reinstallation scope actually involves goes well past pulling pavers and putting them back. It includes:
- Assessment and layout: identify the failure pattern, confirm water direction and the drain point.
- Salvage: lift and clean pavers where they can be reused, sorting broken units.
- Base removal: remove the failed aggregate and any contaminated fabric, then expose and repair any buried lines.
- Grade work: establish a positive slope away from the house.
- Base build: install fresh fabric where needed and layer, water and compact aggregate in lifts.
- Edge restraint: install a fixed edge so the field cannot move outward.
- Re-lay and joint fill: relay pavers to pattern, install polymeric sand, compact and cure.
- Permits and inspections: confirm with your local building department whether a permit is required for your scope. Many municipalities require one for driveway changes, particularly where they affect right-of-way or drainage.
If the diagnosis points to full reinstallation, don’t rush it. A written estimate that separates base work from paver work tells you exactly what you’re paying for, and where the true cost sits.
Choosing Materials That Hold Up
Maintenance only protects a driveway as well as its materials allow. There’s real range in paver quality, and the difference shows up in how long they hold their edges, how consistently they’re dimensioned, and how they handle sun and rain. Two pavers may look similar at installation and behave very differently a few seasons in.
For a Kendale Lakes driveway, we specify from a curated roster of manufacturer brands – among them Cambridge Pavers and Oldcastle – and pair them with joint sand we trust. Our 50+ brand relationships across seven service lines mean we’re not locked into a single spec that has to work for every customer. We choose the right material for the job, then stand behind it.
When you choose a paver, ask:
- Is it designed for a driveway, not just a patio? Driveways see vehicle weight and need a paver built for it.
- Are the pavers dimensionally consistent? Uniform dimensions mean tighter joints and less rocking.
- How does the color hold in strong sun? Some finishes fade faster than others.
- Is there a matching edge and cap to finish the driveway cleanly?
Materials are also where a full-service contractor saves you coordination. We handle the hardscape as part of the same package as the fence, the roof and the rest of the property, so you aren’t managing a paving crew and a fence crew and a roofer against each other. If you’re planning fence work alongside the driveway, our fence installation team works to the same site plan, which protects the paver edge.
Common Mistakes to Avoid
- Regrouting without investigating the base. If a repair is repeated more than once, the base is the cause. Re-sanding a failing sub-base only buys a few months in Kendale Lakes.
- Re-applying polymeric sand before the wet season. Rain arrives too soon and the polymer never cures. Wait for the drier stretch after the rain ends.
- Ignoring a puddle. A puddle that lasts more than a day is an early warning of base failure. Photograph it and fix the slope or drain before paving season.
- Letting AC condensate and irrigation spray onto pavers. A small drainage change now prevents a base void later. Redirect the line to landscaping.
- Skipping the edge restraint check. Edge failure spreads inward. When the pavers along the edge start to move, the field behind them will follow.
- Choosing pavers by look alone. A driveway needs a paver rated for vehicles. Patio pavers on a driveway will fail faster, regardless of maintenance.
- Letting one crew manage pavers while another manages everything else. When something goes wrong between crews, the homeowner ends up coordinating the blame. One accountable contractor closes that gap.
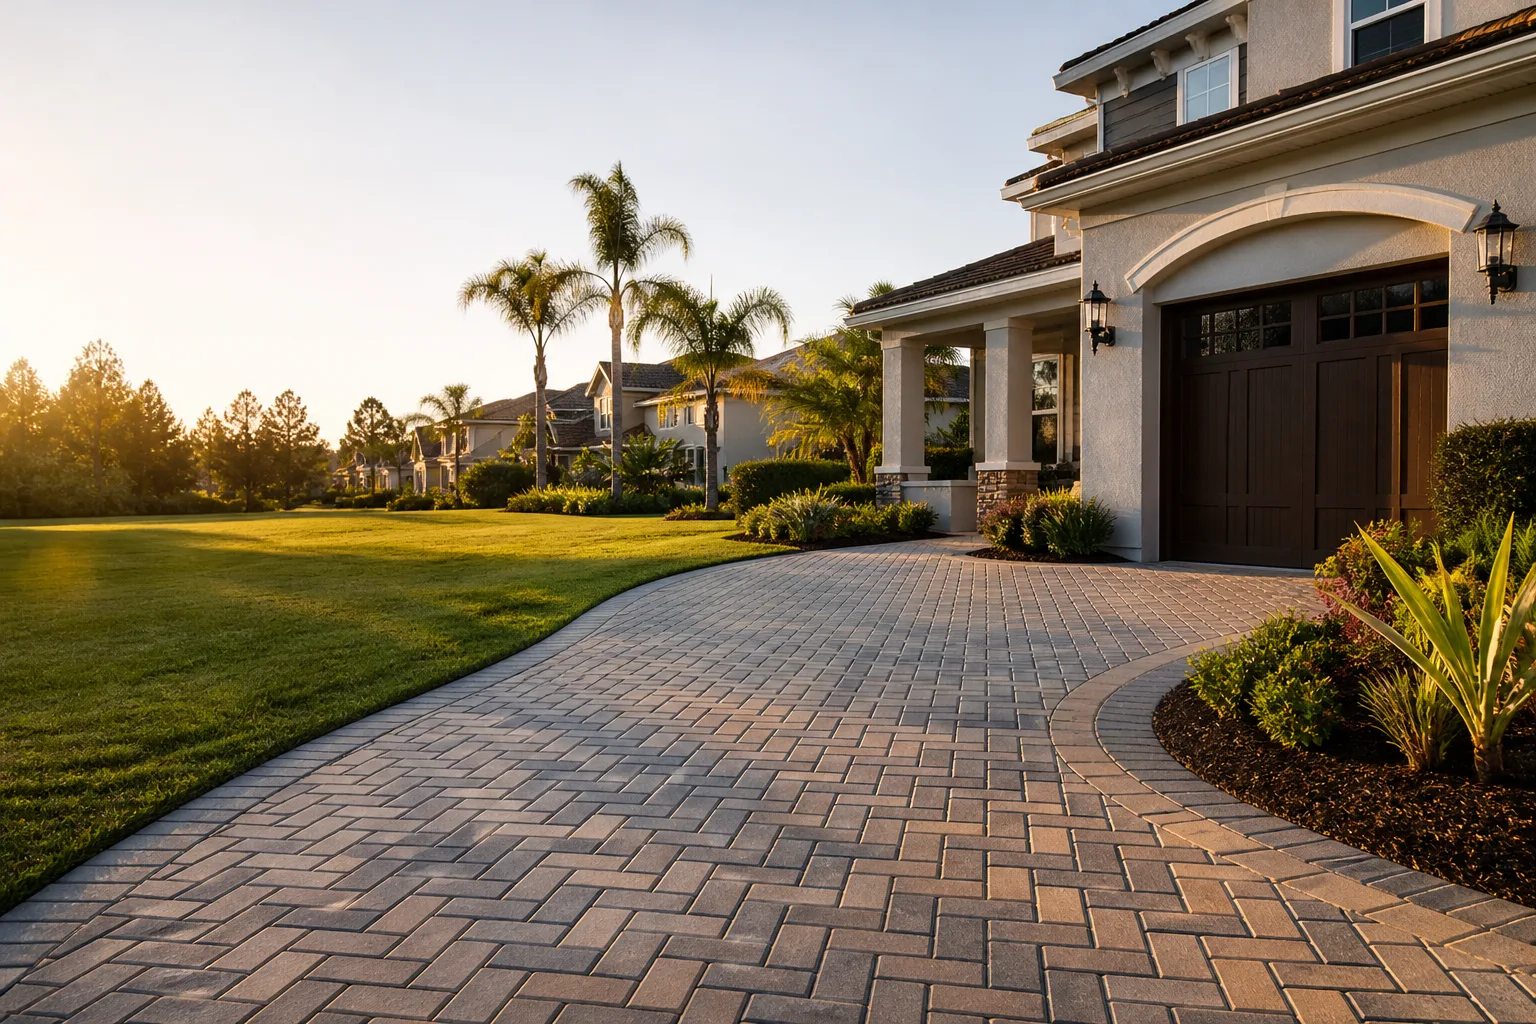
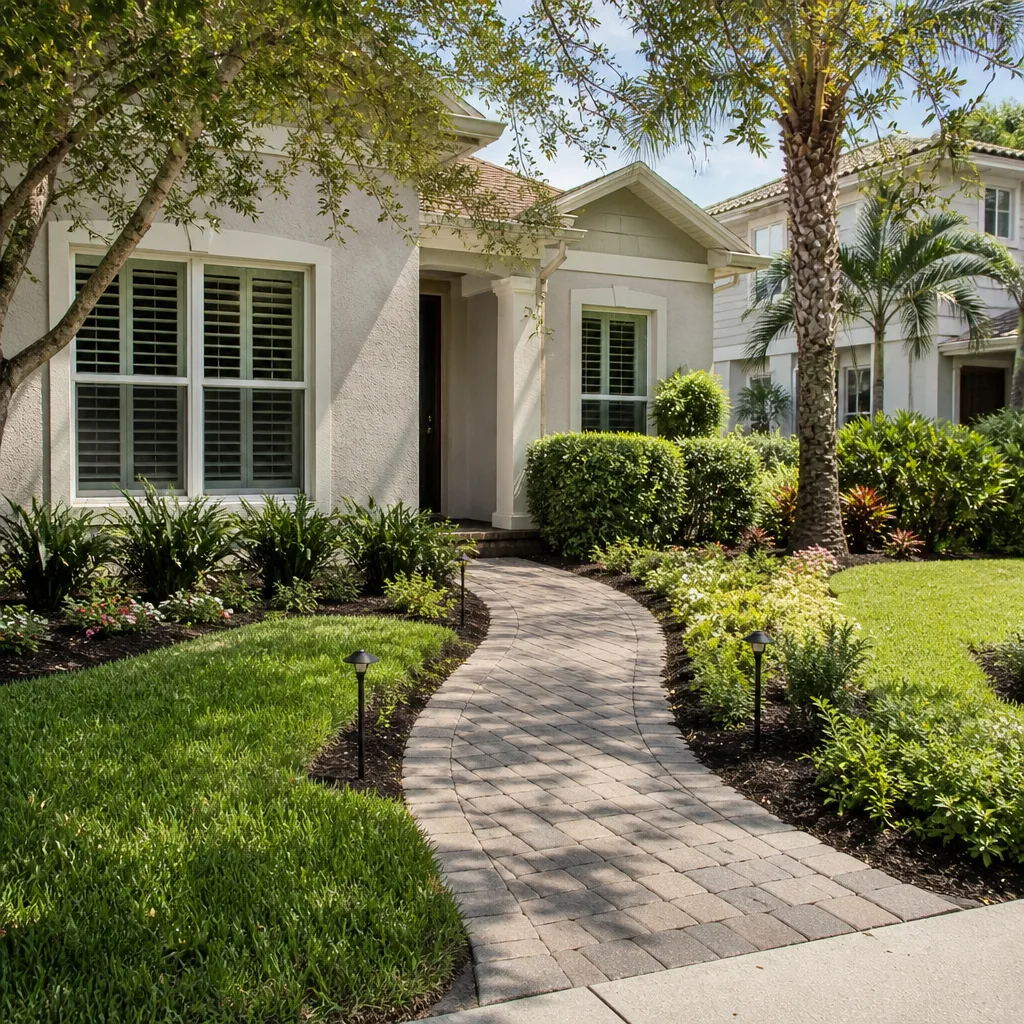
See the difference
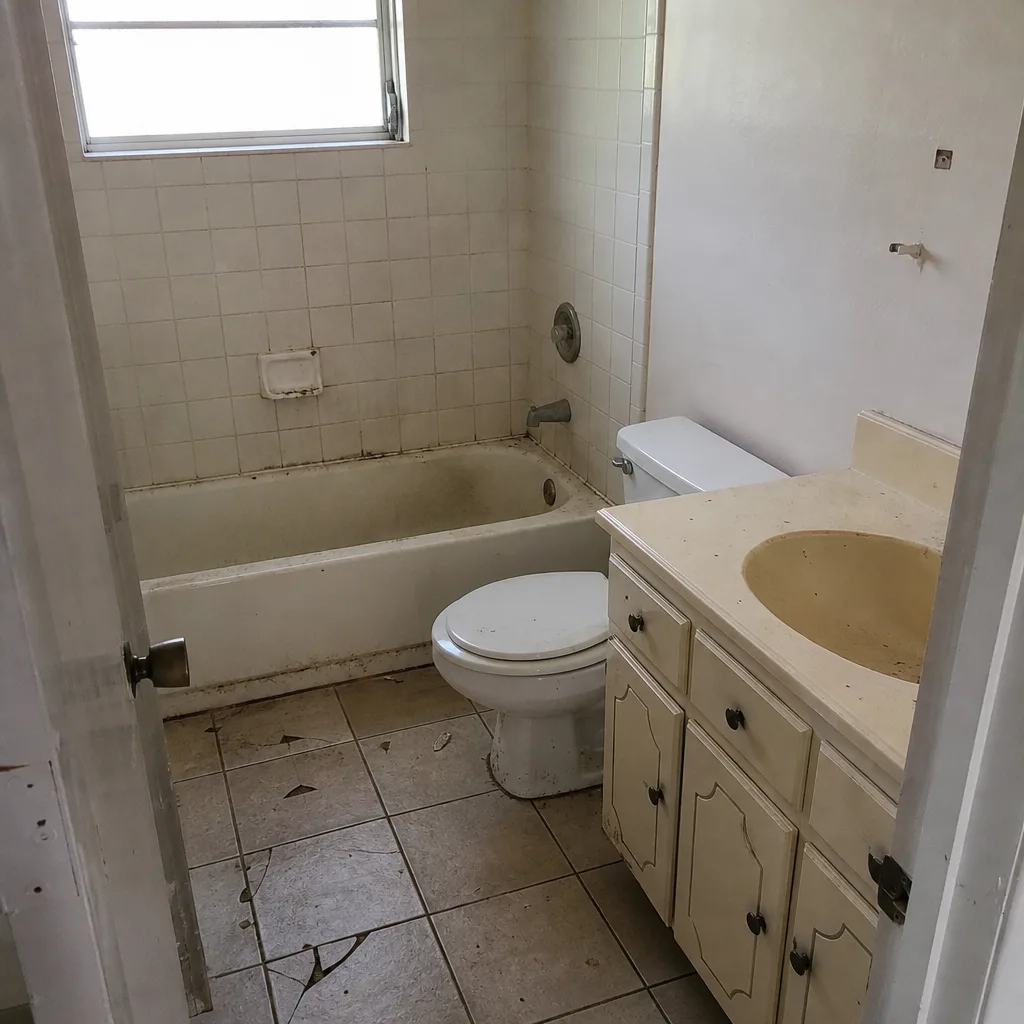 Before
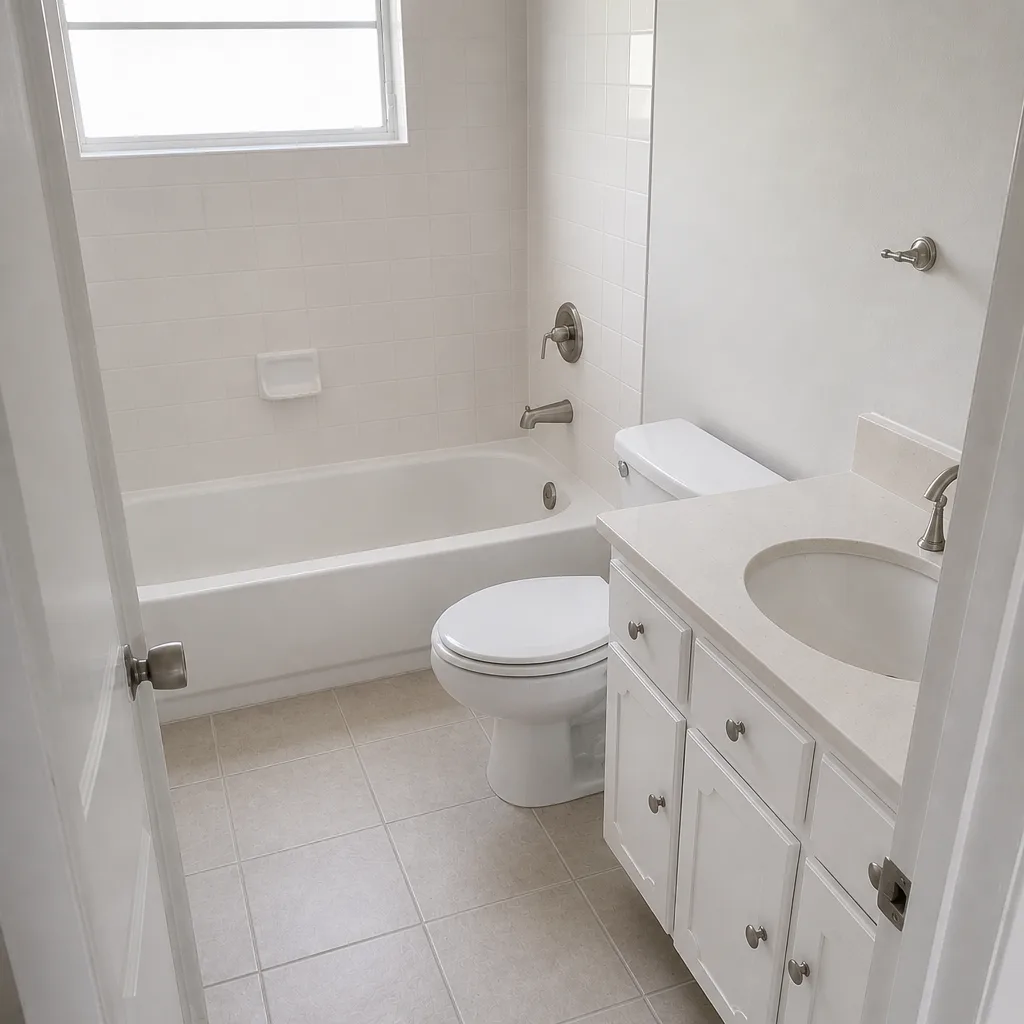 After
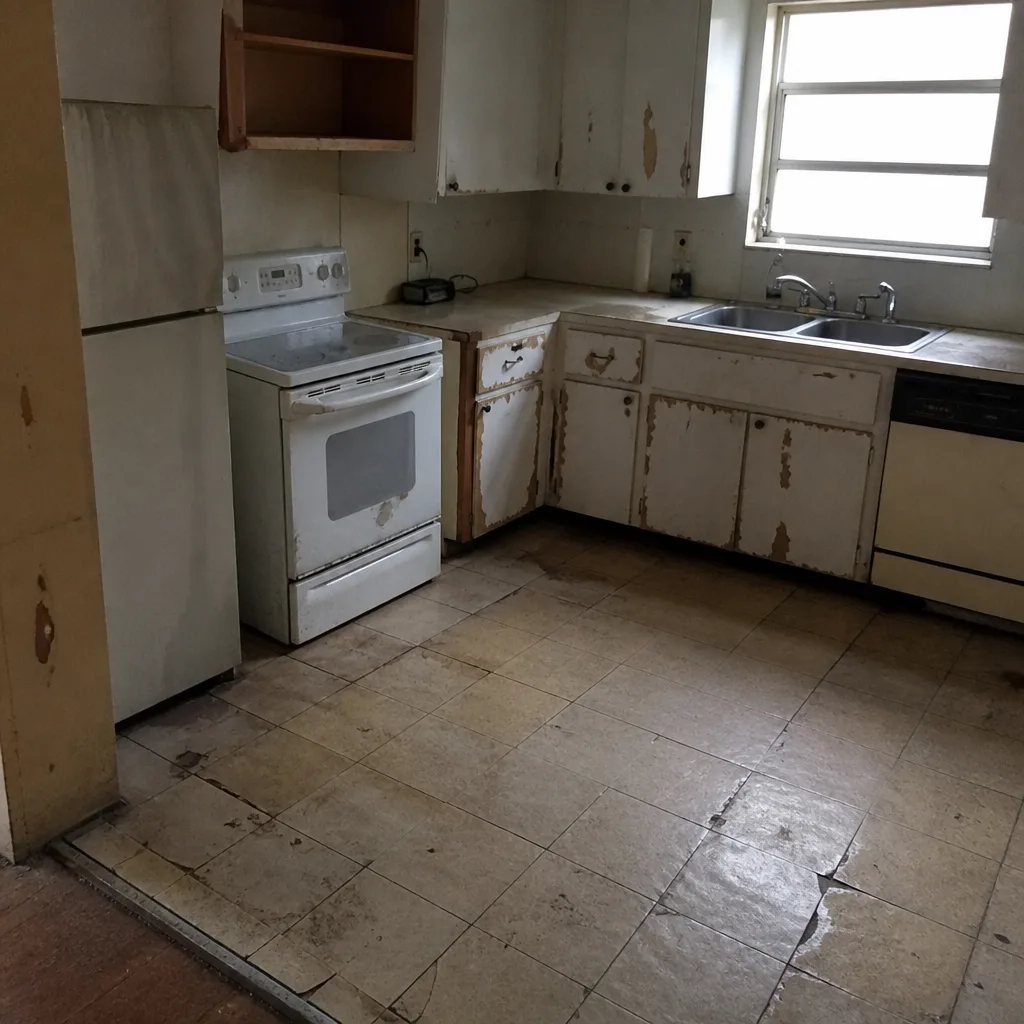 Before
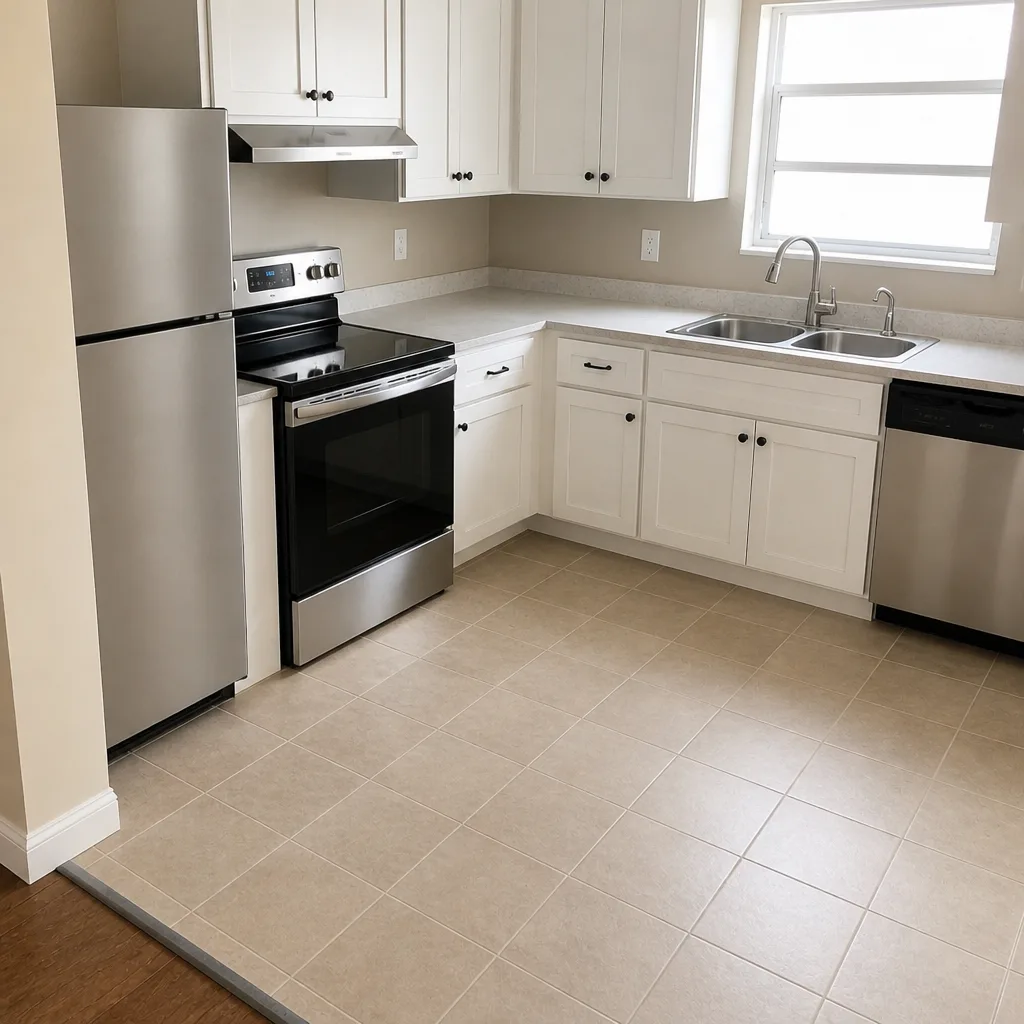 After
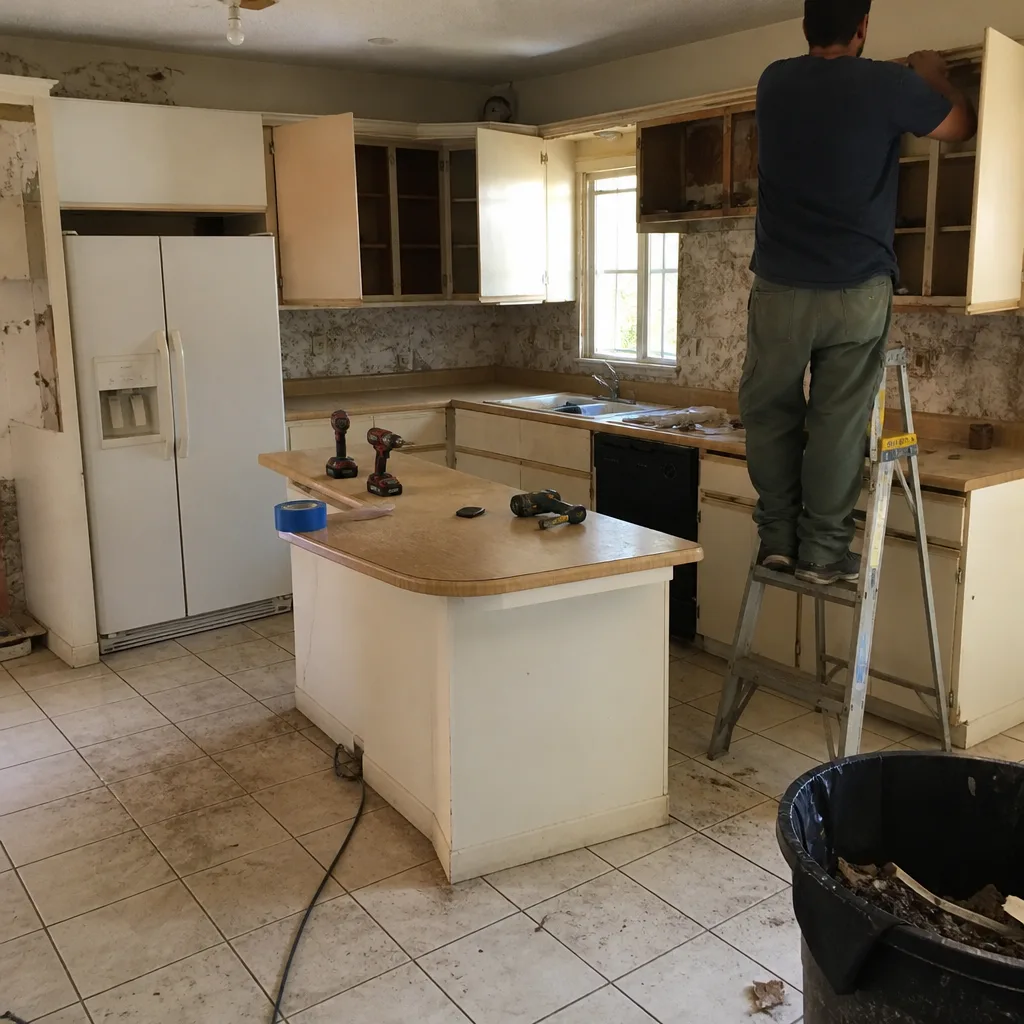 Before
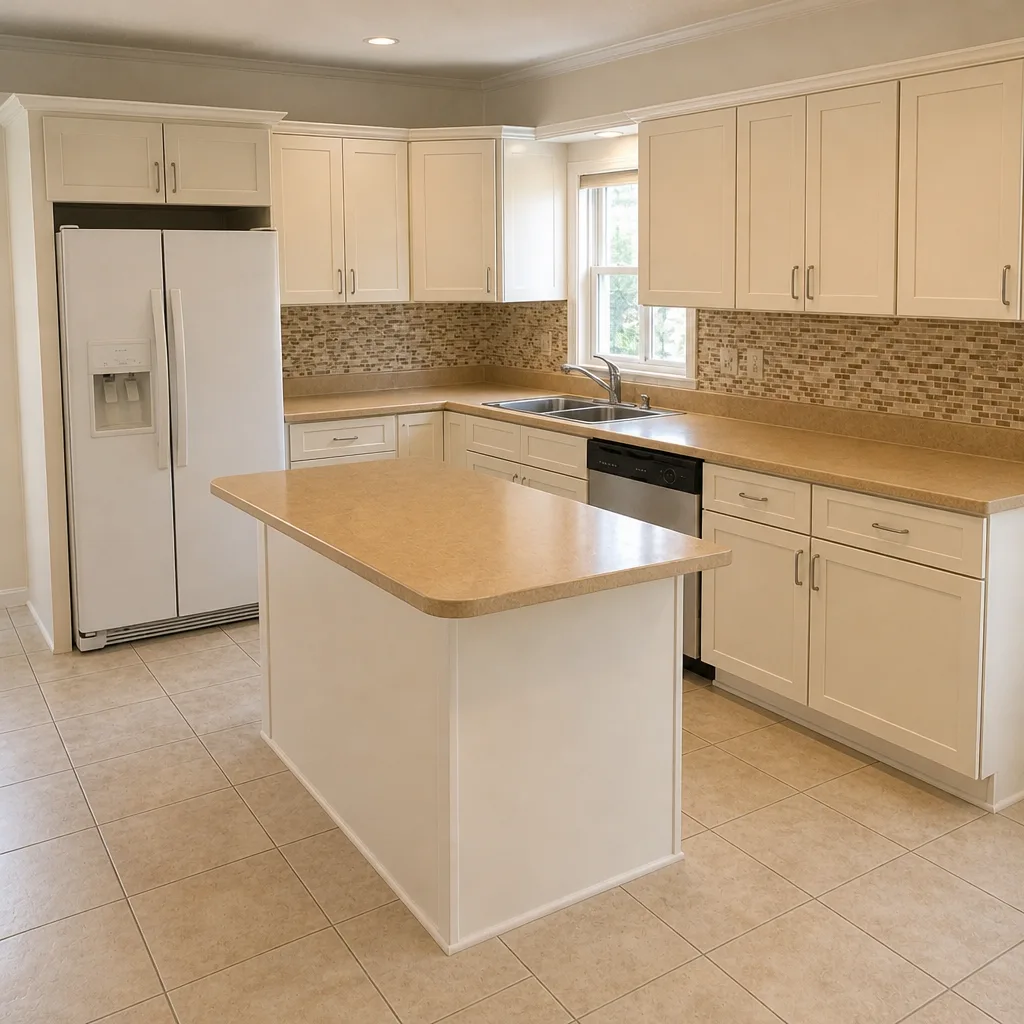 After
When to Call a Professional
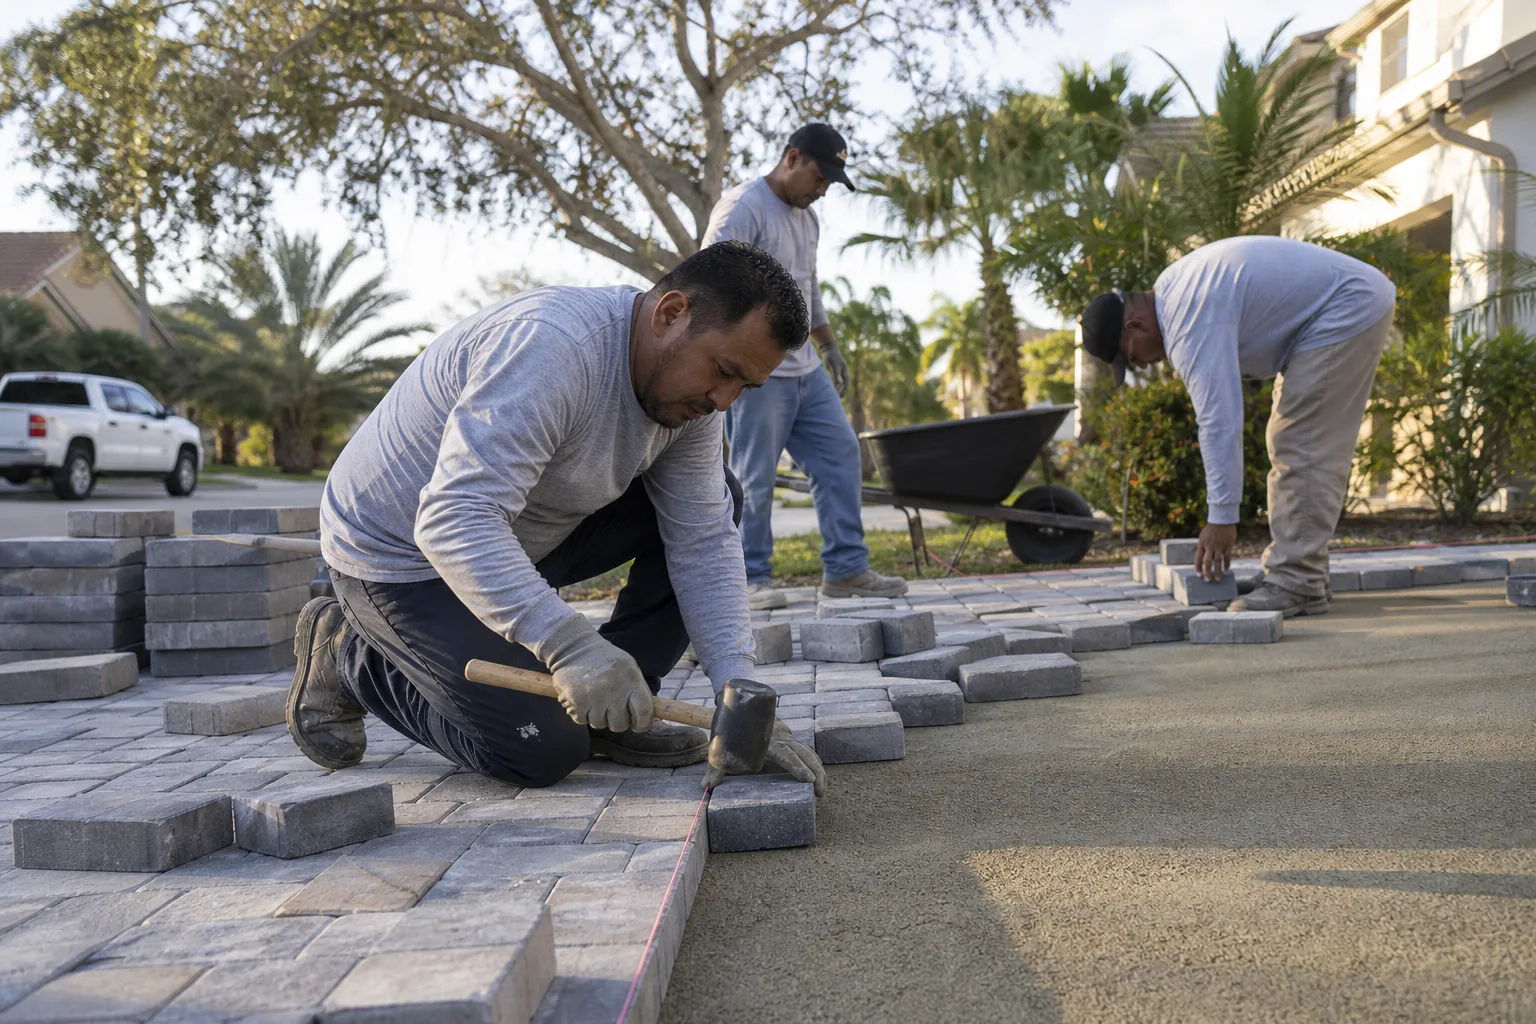
Call us when the pattern is bigger than a single paver. That means broad sinking, long joint separation, water that stands after a storm, or a repair you’ve already made twice. It also means any paver area over buried lines – a suspected pool or irrigation leak beneath pavers isn’t a DIY repair. Structural work near a garage apron or retaining edge, and any scope that needs permits, belongs with a licensed contractor.
We handle the whole property – roof, hardscape, fence and additions – so you don’t stitch together trades. Kendale Lakes Construction offers free estimates in Kendale Lakes. Call (866) 531-4751. We answer 24/7. Fast dispatch from 7am to 7pm, Sunday through Friday.
Frequently Asked Questions
Expect to inspect the driveway before and after the wet season each year, with a joint sand top-up before the rains and a full polymeric sand re-application after them. Inspect after every significant storm for puddles, rocking pavers and joint separation. Call (866) 531-4751 for an exact quote on repair – estimates are free.
Pavers sink in the middle when the aggregate base is loose, contaminated or holding water. Flat lots in Kendale Lakes don’t shed water quickly, so a low spot or a buried leaking line can hollow out the base and let the surface drop. A repair that only re-levels the pavers will fail again. Call (866) 531-4751 to look at the base before re-sanding – estimates are free.
The best window is the drier stretch right after the wet season ends, when joints and base can dry, the sand can seat, and the polymer can cure before the next rain cycle. Don’t apply polymeric sand on a wet surface. Call (866) 531-4751 for an exact quote on re-sanding – estimates are free.
One or two pavers can usually be lifted, re-seated and re-sanded – but only if the void below is identified and filled. If the same paver fails again, or the area spreads, stop DIY work. Call (866) 531-4751 for an exact quote – estimates are free.
Permit rules vary by municipality. Many require a permit when driveway work affects right-of-way, drainage or the property edge, so check with your local building department before work starts. A written scope that separates base work from paver work helps. Call (866) 531-4751 to talk through scope – estimates are free.
Joint separation is usually caused by edge restraint failure or base movement, not by the paver itself. When the edge moves, the field spreads and the joints open. Fixing only the joints will fail again. Call (866) 531-4751 to find the cause – estimates are free.
The Bottom Line

Maintain the base and the drainage, and the surface takes care of itself. Walk the driveway before and after the wet season, treat every standing puddle as an early warning, and apply polymeric sand in the drier stretch after the rains so it cures properly. Keep AC condensate, irrigation and pool equipment water off the pavers. When a repair fails twice, stop repairing and investigate the base. When the scope crosses into a full reinstallation, get a written scope that separates base from paver. Kendale Lakes Construction builds both – one contractor from the roof to the driveway. Call (866) 531-4751 for a free estimate in Kendale Lakes. We answer 24/7. Fast dispatch from 7am to 7pm, Sunday through Friday.
Written by the team at Kendale Lakes Construction.